Pour m'affranchir de tout téléchargement sur les plateformes ad hoc, j'ai choisi de faire mon installation sur une debian 12 (freeze des paquets la semaine prochaine, sortie prévue cet été).
1. Mise à jour
Commençons par un classique :
# apt update && apt dist-upgrade
2. Le hostname
On donne au serveur son fqdn :
# hostnamectl set-hostname mail.tartux.net
J'en profite aussi pour mettre à jour le /etc/hosts.
3. Installation de Apache, MariaDB, Php et PhpMyAdmin
# apt install apache2 mariadb-server php-{xml,pear,imap,intl,common,json,curl,mbstring,mysql,gd,imagick,zip,opcache,sqlite3} libapache2-mod-php
Et j'ajoute PhpMyAdmin :
# apt install phpmyadmin
4. Création de l'utilisateur vmail
# useradd -r -u 501 -g mail -d /var/vmail -s /sbin/nologin -c "Virtual Mail User" vmail
# mkdir /var/vmail
# chmod -R 770 /var/vmail
# chown -R vmail:mail /var/vmail
5. Création de la base de données
# mysql
On crée la base de données, l'utilisateur postfixadmin et son mot de passe :
MariaDB [(none)]> CREATE DATABASE postfixadmin;
MariaDB [(none)]> GRANT ALL PRIVILEGES ON postfixadmin.* TO 'postfixadmin'@'localhost' IDENTIFIED BY 'monsupermotdepa55esécurisé!';
J'ajoute mon utilisateur d'administration sql pour ne pas se connecter en root dans PhpMyAdmin
MariaDB [(none)]> GRANT ALL PRIVILEGES ON *.* TO 'papadakis'@'localhost' IDENTIFIED BY 'monsupermotdepa55eadmin!' WITH GRANT OPTION;
On applique les droits :
MariaDB [(none)]> FLUSH PRIVILEGES;
Query OK, 0 rows affected (0,001 sec)
MariaDB [(none)]> quit
6. Installation et configuration de postfix
# apt install postfix-mysql
Dans l'outil de configuration, on choisit l'option Site Internet
et on donne le fqdn.
Il faut ensuite créer plusieurs fichiers de configuration :
- Pour récupérer la destination de l'alias d'une boîte :
# nano /etc/postfix/mysql_virtual_alias_maps.cf
user = postfixadmin
password = monsupermotdepa55esécurisé!
hosts = localhost
dbname = postfixadmin
query = SELECT goto FROM alias WHERE address='%s' AND active = '1'
- Pour récupérer le domaine :
# nano /etc/postfix/mysql_virtual_domains_maps.cf
user = postfixadmin
password = monsupermotdepa55esécurisé!
hosts = localhost
dbname = postfixadmin
query = SELECT domain FROM domain WHERE domain='%s' AND active = '1'
- Pour récupérer le chemin de stockage d'une boîte :
# nano /etc/postfix/mysql_virtual_mailbox_maps.cf
user = postfixadmin
password = monsupermotdepa55esécurisé!
hosts = localhost
dbname = postfixadmin
query = SELECT maildir FROM mailbox WHERE username='%s' AND active = '1'
- Pour récupérer la destination d'un alias de domaine :
# nano /etc/postfix/mysql_virtual_alias_domain_maps.cf
user = postfixadmin
password = monsupermotdepa55esécurisé!
hosts = localhost
dbname = postfixadmin
query = SELECT goto FROM alias,alias_domain WHERE alias_domain.alias_domain = '%d' and alias.address = CONCAT('%u', '@', alias_domain.target_domain) AND alias.active = 1 AND alias_domain.active='1'
- Pour récupérer le chemin d'un alias de domaine :
# nano /etc/postfix/mysql_virtual_alias_domain_mailbox_maps.cf
user = postfixadmin
password = monsupermotdepa55esécurisé!
hosts = localhost
dbname = postfixadmin
query = SELECT maildir FROM mailbox,alias_domain WHERE alias_domain.alias_domain = '%d' and mailbox.username = CONCAT('%u', '@', alias_domain.target_domain) AND mailbox.active = 1 AND alias_domain.active='1'
- Pour récupérer le quota d'une boîte :
# nano /etc/postfix/mysql_virtual_mailbox_limit_maps.cf
user = postfixadmin
password = monsupermotdepa55esécurisé!
hosts = localhost
dbname = postfixadmin
query = SELECT quota FROM mailbox WHERE username='%s' AND active = '1'
- Récupérer le chemin d'un alias catch-all
# nano /etc/postfix/mysql_virtual_alias_domain_catchall_maps.cf
user = postfixadmin
password = monsupermotdepa55esécurisé!
hosts = localhost
dbname = postfixadmin
query = SELECT goto FROM alias,alias_domain WHERE alias_domain.alias_domain = '%d' and alias.address = CONCAT('@', alias_domain.target_domain) AND alias.active = 1 AND alias_domain.active='1'
Il faut ensuite changer la configuration de /etc/postfix/main.cf. On peut le faire en ligne de commande :
# postconf -e "myhostname = $(hostname -f)"
# postconf -e "mydestination = localhost"
# postconf -e "mynetworks = 127.0.0.0/8"
# postconf -e "inet_protocols = ipv4"
# postconf -e "inet_interfaces = all"
# postconf -e "smtpd_tls_cert_file = /etc/ssl/certs/ssl-cert-snakeoil.pem"
# postconf -e "smtpd_tls_key_file = /etc/ssl/private/ssl-cert-snakeoil.key"
# postconf -e "smtpd_use_tls = yes"
# postconf -e "smtpd_tls_auth_only = yes"
# postconf -e "smtpd_sasl_type = dovecot"
# postconf -e "smtpd_sasl_path = private/auth"
# postconf -e "smtpd_sasl_auth_enable = yes"
# postconf -e "smtpd_recipient_restrictions = permit_sasl_authenticated, permit_mynetworks, reject_unauth_destination"
# postconf -e "virtual_transport = lmtp:unix:private/dovecot-lmtp"
# postconf -e "virtual_mailbox_domains = proxy:mysql:/etc/postfix/mysql_virtual_domains_maps.cf"
# postconf -e "virtual_alias_maps = proxy:mysql:/etc/postfix/mysql_virtual_alias_maps.cf, proxy:mysql:/etc/postfix/mysql_virtual_alias_domain_maps.cf, proxy:mysql:/etc/postfix/mysql_virtual_alias_domain_catchall_maps.cf"
# postconf -e "virtual_mailbox_maps = proxy:mysql:/etc/postfix/mysql_virtual_mailbox_maps.cf, proxy:mysql:/etc/postfix/mysql_virtual_alias_domain_mailbox_maps.cf"
On modifie ensuite le fichier /etc/postfix/master.cf
smtp inet n - y - - smtpd
#smtp inet n - y - 1 postscreen
#smtpd pass - - y - - smtpd
#dnsblog unix - - y - 0 dnsblog
#tlsproxy unix - - y - 0 tlsproxy
# Choose one: enable submission for loopback clients only, or for any client.
#127.0.0.1:submission inet n - y - - smtpd
submission inet n - y - - smtpd
-o syslog_name=postfix/submission
-o smtpd_tls_security_level=encrypt
-o smtpd_sasl_auth_enable=yes
# -o smtpd_tls_auth_only=yes
# -o smtpd_reject_unlisted_recipient=no
# Instead of specifying complex smtpd__restrictions here,
# specify "smtpd__restrictions=$mua_ _restrictions"
# here, and specify mua__restrictions in main.cf (where
# "" is "client", "helo", "sender", "relay", or "recipient").
# -o smtpd_client_restrictions=
# -o smtpd_helo_restrictions=
# -o smtpd_sender_restrictions=
# -o smtpd_relay_restrictions=
-o smtpd_recipient_restrictions=permit_sasl_authenticated,reject
-o milter_macro_daemon_name=ORIGINATING
# Choose one: enable submissions for loopback clients only, or for any client.
#127.0.0.1:submissions inet n - y - - smtpd
#submissions inet n - y - - smtpd
smtps inet n - y - - smtpd
# -o syslog_name=postfix/submissions
-o syslog_name=postfix/smtps
# -o smtpd_tls_wrappermode=yes
-o smtpd_sasl_auth_enable=yes
# -o smtpd_reject_unlisted_recipient=no
# Instead of specifying complex smtpd__restrictions here,
# specify "smtpd__restrictions=$mua_ _restrictions"
# here, and specify mua__restrictions in main.cf (where
# "" is "client", "helo", "sender", "relay", or "recipient").
-o smtpd_client_restrictions=permit_sasl_authenticated,reject
# -o smtpd_helo_restrictions=
# -o smtpd_sender_restrictions=
# -o smtpd_relay_restrictions=
# -o smtpd_recipient_restrictions=permit_sasl_authenticated,reject
-o milter_macro_daemon_name=ORIGINATING
7. Installation et configuration de dovecot
apt install dovecot-mysql dovecot-imapd dovecot-pop3d dovecot-lmtpd
On modifie le fichier /etc/dovecot/conf.d/10-auth.conf en ajoutant login sur cette ligne :
auth_mecanisms = plain login
Puis on commente !include auth-system.conf.ext et on décommente #!include auth-sql.conf.ext
#!include auth-system.conf.ext
!include auth-sql.conf.ext
On modifie le fichier /etc/dovecot/dovecot-sql.conf.ext
driver = mysql
connect = host=localhost dbname=postfixadmin user=postfixadmin password=monsupermotdepa55esécurisé!
default_pass_scheme = MD5-CRYPT
password_query = SELECT username as user, password, '/var/vmail/%d/%n' as userdb_home, 'maildir:/var/vmail/%d/%n' as userdb_mail, 150 as userdb_uid, 8 as userdb_gid FROM mailbox WHERE username = '%u' AND active = '1'
user_query = SELECT '/var/vmail/%d/%u' as home, 'maildir:/var/vmail/%d/%u' as mail, 150 AS uid, 8 AS gid, concat('dirsize:storage=', quota) AS quota FROM mailbox WHERE username = '%u' AND active = '1'
On modifie le fichier /etc/dovecot/conf.d/10-mail.conf
mail_location = maildir:/var/vmail/%d/%n
mail_uid = vmail
mail_gid = mail
mail_privileged_group = mail
first_valid_uid = 150
last_valid_uid = 150
On vérifie que la ligne ssl=yes est bien décommentée dans /etc/dovecot/conf.d/10-ssl.conf
On passe à la configuration de dovecot, dans /etc/dovecot/conf.d/10-master.conf, on cherche la section du service lmtp et on l'édite ainsi :
service lmtp {
unix_listener /var/spool/postfix/private/dovecot-lmtp {
mode = 0600
user = postfix
group = postfix
}
}
De même avec le service auth :
service auth {
unix_listener /var/spool/postfix/private/auth {
mode = 0666
user = postfix
group = postfix
}
unix_listener auth-userdb {
mode = 0600
user = vmail
}
user = dovecot
}
et pour le service auth-worker :
service auth-worker {
user = vmail
}
Enfin on change les permissions et on redémarre le service
# chown -R vmail:dovecot /etc/dovecot
# chmod -R o-rwx /etc/dovecot
# systemctl restart postfix dovecot
8. Installation de PostfixAdmin
Comme on est sur debian 12, à l'heure où j'écris, le paquet postfixadmin existe
# apt install postfixadmin
On crée un fichier /etc/postfixadmin/config.local.php :
<?php
$CONF['database_type'] = 'mysql';
$CONF['database_host'] = 'localhost';
$CONF['database_user'] = 'postfixadmin';
$CONF['database_password'] = 'monsupermotdepa55esécurisé!';
$CONF['database_name'] = 'postfixadmin';
$CONF['configured'] = true;
?>
Avec un navigateur, on va sur : http://ADRESSE_IP_DU_SERVEUR/postfixadmin/setup.php
Il faut générer le hash du mot de passe monsupermotdepa55esécurisé! , on le rentre deux fois dans Generate setup_password. La page le renvoi, on colle la ligne dans /etc/postfixadmin/config.local.php
$CONF['setup_password'] = '$2y$10$D/ZeiL3PWIILin/9sa.a2.GigUeh/3ufTpdwaosm3SSqLxHXwhzXG';
On rafraîchit la page et cette fois, on de logue via l'invite Login with setup_password.
Il faut fixer les erreurs s'il y en a. (Ici, j'ai juste réinitialisé le mot de passe de postfixadmin dans PhpMyAdmin. Cela a suffit pour fixer 3 erreurs.)
Il faut maintenant créer l'administrateur postfix avec une adresse mel existante.
Une fois créer, on peut se loguer sur http://ADRESSE_IP_DU_SERVEUR/postfixadmin/login.php
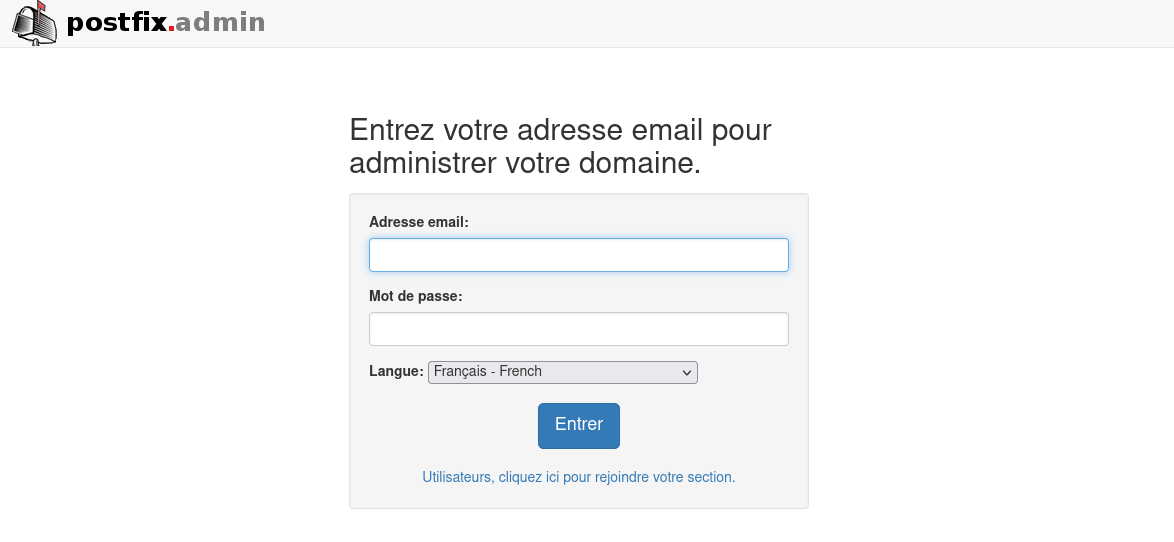
Et l'aventure peut commencer !